PNG images are a favourite among graphic designers because they can preserve sharp details and transparent backgrounds. But there is one common problem: PNG files can become surprisingly large.
A large PNG can slow down a website, take longer to upload, consume storage space, and create a frustrating experience for visitors on slower connections.
The good news? You can compress PNG images while keeping them sharp and preserving transparency.
In this guide, we’ll explain how PNG compression works, which settings matter, what to avoid, and how to reduce PNG file size without ruining your design.
Why Are PNG Files So Large?
Before compressing a PNG, it helps to understand why these files can become heavy.
PNG was designed as a lossless image format. Unlike formats that intentionally discard some visual information, lossless PNG compression aims to preserve the original image data.
This makes PNG excellent for:
- Logos
- Icons
- Illustrations
- UI graphics
- Screenshots
- Text-based graphics
- Transparent images
- Design elements
However, this quality comes with a trade-off: PNG files can be much larger than optimized JPEG or WebP images, especially when they contain lots of colors, gradients, shadows, or complex artwork.
For a website, that extra file size may not be necessary.
What Does PNG Compression Actually Do?
PNG compression reduces the amount of data required to store an image.
There are two broad approaches:
1. Lossless PNG Compression
Lossless compression reduces file size without changing the visible image quality.
The image still looks the same, and transparency is normally preserved.
This is usually the best starting point for:
- Logos
- Brand assets
- Professional design files
- UI graphics
- Transparent product elements
2. Lossy PNG Optimization
Some optimization methods can reduce the number of colors or other image information to achieve a much smaller file.
This can produce a bigger reduction in file size, but depending on the image and settings, you may notice changes in gradients, shadows, fine details, or transparency edges.
For important design assets, always compare the compressed image with the original before publishing it.
How to Compress PNG Images Without Losing Quality
Step 1: Start With the Correct Image Dimensions
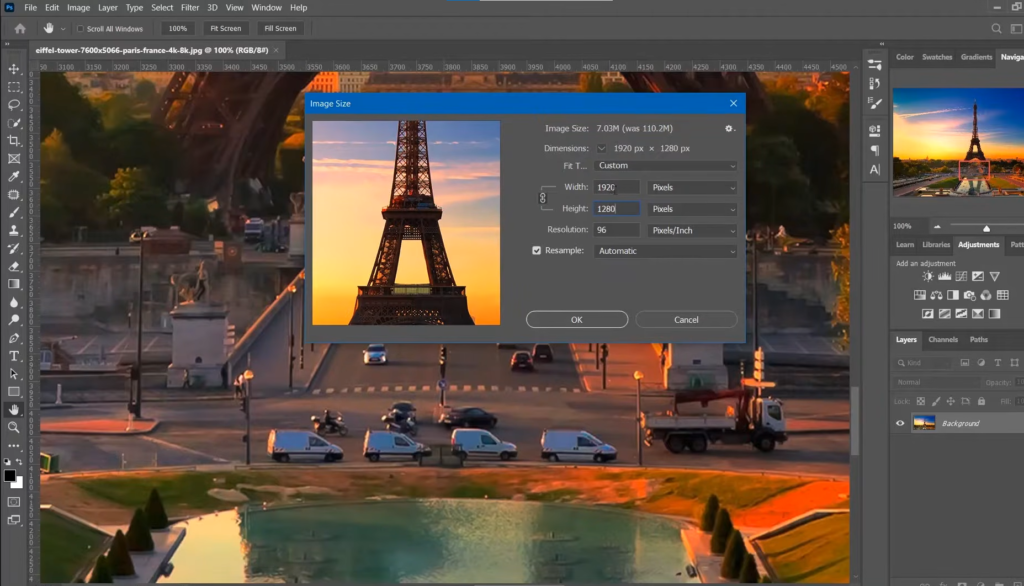
One of the easiest ways to reduce a PNG’s file size is to make sure it isn’t unnecessarily large.
For example, if your website only displays an image at approximately 800 pixels wide, uploading a 4000-pixel-wide PNG may be unnecessary.
Before compression, ask:
“Does this image really need to be this large?”
Resize the image to a practical dimension first, then compress it.
This is particularly useful for:
- Blog graphics
- Website banners
- Social media graphics
- Product images
- Decorative website elements
Don’t resize a logo or design asset below the size where it needs to remain sharp, though.
Step 2: Remove Unnecessary Metadata
PNG files can contain additional information such as metadata, editing information, colour profiles, or other data that may not be needed for web use.
Removing unnecessary metadata can reduce the file size without visibly changing the image.
For a normal website image, you usually don’t need editing-related information stored inside the final web asset.
However, if metadata is important for your workflow, licensing, accessibility, or documentation, keep it.
Step 3: Choose the Right Colour Depth
Colour depth can have a significant effect on PNG file size.
A PNG with a large number of colours may require considerably more data than a simple graphic using a limited palette.
For example, a simple icon with a few colours may not need the same colour information as a detailed illustration.
If your image allows it, reducing the colour palette can produce a much smaller file.
But be careful with photographs, gradients and complex illustrations. Reducing colours too aggressively can create visible banding or loss of detail.
The goal isn’t the smallest possible PNG. The goal is the smallest PNG that still looks good.
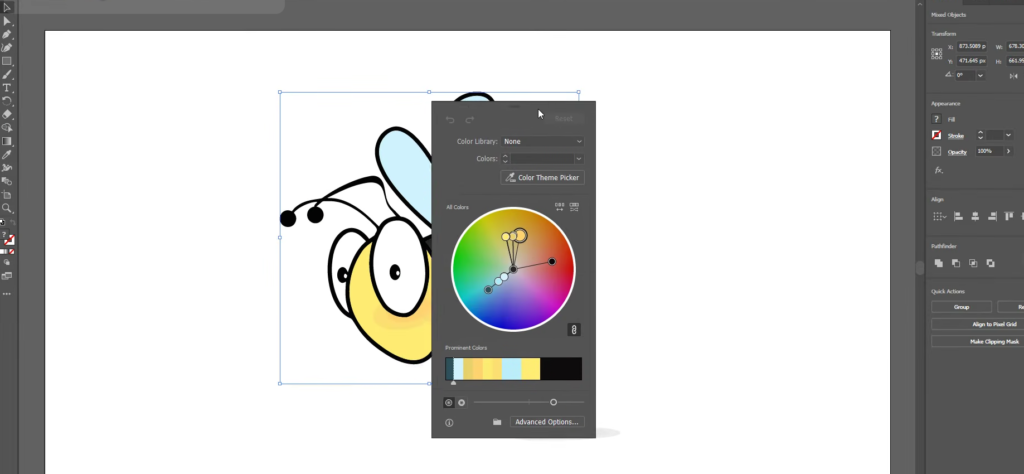
Step 4: Preserve Transparency
This is particularly important for designers.
If your PNG has a transparent background, don’t accidentally convert it into a format that doesn’t support transparency.
For example, converting a transparent PNG directly to JPEG will replace the transparent area with a solid background.
If transparency is important, check the exported file before uploading it to your website.
Look for:
- Transparent background
- Clean edges
- No unwanted white halo
- No jagged edges
- Correct shadows
- Correct opacity
A compressed PNG isn’t useful if its transparent edges look poor.
Step 5: Use PNG Optimization Tools
Dedicated image optimization tools can analyze a PNG and reduce unnecessary data automatically.
Many modern image optimization tools provide a simple workflow:
Upload → Compress → Preview → Download
For website images, compare the original and compressed versions side by side.
Pay attention to:
- File size
- Image sharpness
- Transparency
- Text clarity
- Fine edges
- Shadows and gradients
If the compressed image looks identical—or nearly identical—while being significantly smaller, you’ve achieved a good result.
How Much Should You Compress a PNG?
There isn’t one perfect compression percentage for every PNG.
A simple logo might shrink dramatically, while a complex illustration may only achieve a modest reduction.
Instead of chasing a specific percentage, use a quality-first approach.
For example:
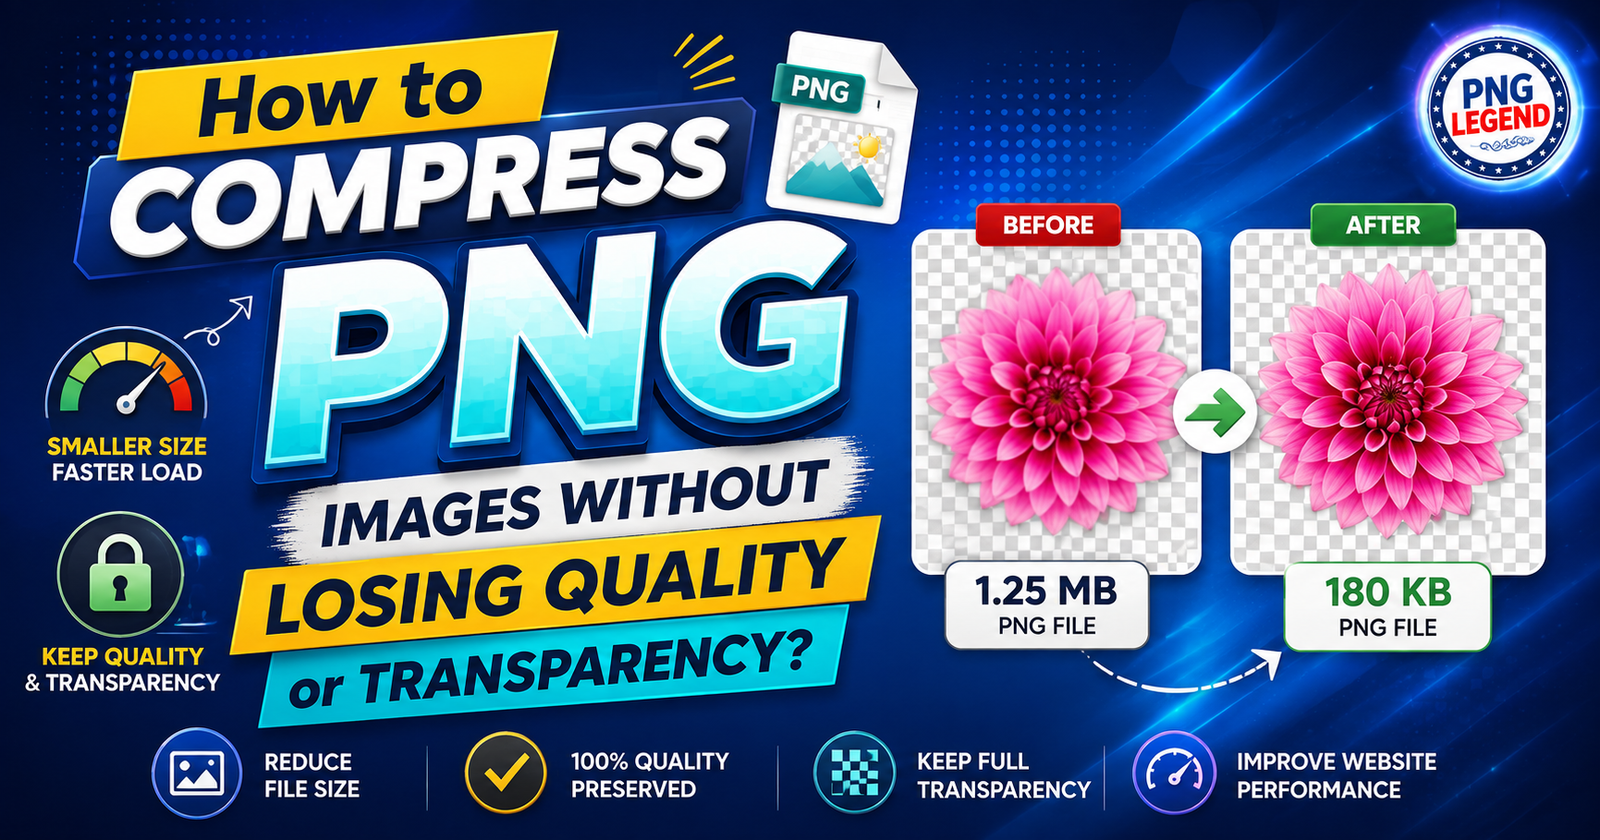
Original: 1.2 MB
Optimized: 450 KB
If the image still looks exactly as intended, that’s a useful improvement.
But if reducing it to 150 KB causes visible artefacts, the extra reduction may not be worth it.
Remember:
Smaller isn’t always better. Smaller while maintaining the required visual quality is better.
PNG Compression for Websites
Website owners should pay special attention to image file sizes because every image contributes to the amount of data a visitor has to download.
This becomes particularly important for:
- Mobile visitors
- Image-heavy websites
- Online portfolios
- E-commerce pages
- Blogs
- Landing pages
A page containing several unnecessarily large PNG files can become much heavier than expected.
That doesn’t mean you should compress every image aggressively. Instead, choose the appropriate image format for each situation.
For example, PNG can be excellent when you need transparency or crisp graphics, while other modern formats may be more suitable for certain photographic or web images.
Common PNG Compression Mistakes to Avoid
Compressing without checking the final image
Never assume the compressed file looks perfect. Open it and inspect it.
Making the image unnecessarily small
Don’t sacrifice useful resolution just to achieve a tiny file.
Removing transparency
Always check transparent areas after optimization.
Reducing colours too aggressively
This can create ugly gradients, banding and rough edges.
Using the wrong format
Not every image needs to be PNG. Choose the format based on the image’s purpose.
Focusing only on file size
A 100 KB image isn’t automatically better than a 200 KB image if the 100 KB version looks noticeably worse.
The Best PNG Compression Workflow for Designers
If you regularly create graphics for websites, here’s a simple workflow worth following:
Create → Resize → Optimize → Check Transparency → Compare → Publish
First, create your PNG at the appropriate dimensions.
Next, resize it if the original dimensions are unnecessarily large.
Then run it through a suitable PNG optimization process.
After that, inspect the transparency and image quality.
Finally, compare the original and optimized files before uploading the smaller version to your website.
This takes only a little extra time, but it can make your website’s image library much cleaner and more efficient.
Final Thoughts
PNG remains one of the most useful image formats for graphic designers, especially when transparent backgrounds and sharp graphics are important.
The trick is not to make every PNG as small as possible.
Instead, aim for the best balance between file size, image quality, dimensions and transparency.
Start with the correct dimensions, remove unnecessary data, optimize the colour information when appropriate, and always inspect the final image before publishing it.
For designers and website owners, that small optimization step can make a big difference—without forcing you to compromise on the visual quality of your work.
Frequently Asked Questions
1. Can I compress a PNG without losing quality?
Yes. Lossless PNG compression can reduce file size while keeping the image visually unchanged. The amount of compression depends on the image.
2. Does PNG compression remove transparency?
Not necessarily. Proper PNG optimization can preserve transparency. Always check the final image after compression to make sure transparent areas and edges remain correct.
3. Why are PNG files so large?
PNG files can be large because they preserve image information without the same type of visual data loss used by some other formats. Complex graphics, large dimensions, gradients and many colours can increase file size.
4. Is PNG better than JPG?
Neither format is universally better. PNG is particularly useful for transparency, logos, icons and sharp graphics, while JPG can be more suitable for many photographs and complex images. Your choice should depend on how the image will be used.
5. Should I compress PNG images before uploading them to my website?
Yes. Optimizing PNG files before uploading them can help reduce unnecessary image data and keep your website’s media library more efficient.
6. Does reducing PNG dimensions reduce file size?
Yes. Reducing the pixel dimensions of an image can significantly reduce its file size. However, only resize an image when the smaller dimensions are appropriate for its intended use.
7. Can I convert a transparent PNG to JPG?
8. How small should a PNG file be for a website?
There is no universal ideal file size. Aim for the smallest practical file that maintains the required quality, dimensions and transparency for its purpose.
2 Responses
You have produced an extraordinary article, and your attention to detail is truly commendable.
thank you